Thursday, December 6, 2012

DIY Pearl Christmas Ornaments!

My version of a pearl Christmas ornament!

I was going through old beads, and found a stash of glass pearls.  In trying to find something Christmasy to do with them, as well as destash some supplies to make room for NEW beads, I came across this blog idea by RoomMom27:


I liked the idea of filling ornaments with pearls for several reasons:

1) no glue!
2) no mess!  (see above)
3) no lost beads over time (b/c glue gave out)
4) my 3 year old could help me!

So I went to Michaels to collect the rest of the supplies.  Since I already had beads, I spent less than $2 per ornament.  If you need to buy beads, you might spend closer to $5 per ornament - the total price will depend on what pearls you chose to use and how good a sale you find!

Materials:
 - pearls - chose 1 size or various sizes - quantity will depend on pearl size, strand length, etc.
 - ornament - 80 mm disc (flat) ornament in shatterproof plastic (smallest size I could find)
 - grape clusters


I needed between 1-2 pearl strands per ornament, and 1 grape cluster.  I chose to use grape clusters to fill in gaps, make the ornaments lighter (glass pearls are heavy!), and have a distinct variety in sizes.  Plus I was trying to get rid of glass pearls, not purchase more! 

The shatterproof ornament was a good idea in my household with two girls under 4 years of age.  Plus, you can be heavier handed with them (ahem, pushing those grapes in can be snug!) and not break them.  The disc shape (flattened rounded coin) helped reduce the amount of pearls needed to fill the gaps and resulted in ornaments where most of the material inside was visible from outside, instead of hidden in the middle of a ball.


FIRST - Remove all tags, strip the leaves from the grape clusters (I hate waste so I kept these to add to my ornaments at the end!), and cut off the grapes.  A sturdy pair of scissors should work, but the grapes are held on by wire, so you could use wire cutters if you have them.


SECOND - Remove pearls from strands, if you have strands.  A bowl or container is useful to keep materials from rolling off the table.  Then, pull off the ornament caps and start adding grapes and pearls! Layer them - some pearls, some grapes, some pearls, some more grapes, etc.  I found I got the best results by filling the ornament 1/2 full of grapes, then adding pearls, shaking gently to distribute them, and then adding more grapes and pearls.  I added a grape last, to fill in the neck of the ornament.


THIRD - Add the cap back on, and twist 2 leaves together by the leaves.  Wind the remaining wire around the neck of the ornament and twist the end together.  Bend the remaining wire back towards the ornament so it doesn't stick out and poke anyone!


FOURTH - Stand back and admire your work!  Hang on trees, presents, garlands, etc.!


Here are some other pearl Christmas ornament tuts that I found that you might enjoy:

Craftberry Bush:  Pearl Strands
DIY Network:  Pearl Styrofoam Balls
DIY Divas:  Pearl Ornament

Happy Creating and Merry Christmas!
PZ


Thursday, August 9, 2012

Child's Name for the Wall: Stitched Foam Letters


7" Handmade Foam Letter
 
After we moved to our new home, I really wanted to decorate my girls' rooms in bright, fun colors!  I also knew as part of the design I wanted to incorporate their names in the wall decor.  While I love the classic wood letters, I never found a font that I really loved, and I wasn't up to cutting the letters out myself (at least not out of wood) and then painting them.  Most of the letters were also smaller than I wanted, but I didn't want to pay a lot of money for really large wood letters, either.

7" Handmade Foam Letter

I wanted easy, cost efficient (ie - cheap!), and fast.  What can I say?  I was excited to get something up on the wall!  Also unbreakable since my girls are young and playful.  So what did I decide?  Why not try foam!  It comes in a variety of thicknesses, sizes, colors, and even patterns.  It's easy to draw on, cut out, and layer.  It's also relatively cheap, especially if you buy a bulk package.

My choice of fonts!
 
First, I found the fonts I wanted and printed out the letters I would need for my names.  In my case, I needed V, I, A, N, P, E, L, & O.  (Can you guess my girls' names from that list????)  Test print one letter first to get the size you want.  I ended up using letters sized 440 or something thereabouts.  Then cut out the letters and trace onto the appropriate color foam!  I chose pinks, blues, and greens for one daughter and purples, yellows, and pinks for the other.  (Hint - use a pen over a marker.  Marker makes wide lines and leaves a mess behind on the foam that rubs off on other surfaces!)


 I chose to hang my letters up from ribbon and clear pins.

I wanted a letter in one color on top of a foam circle or square of another color.  Originally, I tried sticking the layers together with double sided foam tape, thinking the extra thickness would add depth to the letters.  Well, that was a dud.  Plus, the letters on top of the foam were kinda boring - they were going in the right direction, but I wanted something special!

 Some lovely stitching over foam!
 
I also thought about framing the letters on top of scrapbooking paper to hang them on the wall, but that is a lot of frames with breakable glass.....so I decided to hang them from ribbons instead!  They are lightweight, unbreakable, and easy to move.

Some less than lovely stitching - if the machine fails to move the foam forward with the feeders, the stitching becomes cramped (blue on blue leaves) OR if you stitch with small stitches you can slice through the foam (pink on green stitching).
 
In order to make the letters a little more polished and give them the extra something special, I decided to sew the layers of  foam together.  Sewing foam you say?  Yes I say!  It's actually pretty easy and I haven't had any issues with my machine during or after.  (You can also sew paper for an interesting card or artwork - another thing to try is sewing without thread - it leaves a neat punched out pattern in the paper!)

Example of small/short stitches (top left) and long stitches (right).  Long stitches generally work better with foam!

I sewed the ribbon to the foam backs, then sewed the border and the background vine.  Next came the letter with the flowery vine and some straight stitching.  I suggest lengthening your stitches - especially for the straight stitch - in your machine.  Short stitches close together work like scissors on the foam - you end up pinching the foam in two with the thread and holes.  I suppose if you wanted punch out sheets of foam, this would work wonderfully to make the designs!  But for decorative stitching, not so much.....I lengthend my stitches as long as I could and it worked beautifully!  The pinching is reduced, so the stitch remains on top of the foam instead of sinking into it - makes for a more decorative look!

As with all crafts, try not to rush!  Sew slow to avoid making errors - foam is not as forgiving as fabric!
 
Here's one of my finished names!  The other one is still in the making, but I was so excited to share my success that I couldn't wait.  The letters aren't perfect by any means, and I'll probably redo a couple of them after more practice, but it looks great on the wall and adds some colorful whimsy!

A completed stitched foam name!

Happy Creating!
PZ 

Monday, July 23, 2012

My 1st Refashion - Long Skirt to Short Skirt & a Child's Dress

I'm finally back!  My girls are doing well and we've successfully completed the move to our new home.  The breakdown goes as follows:

New baby girl - 4 1/2 months old
Older baby girl - 3 years old
New home - 3 months old
Sprinklers - 1 day old (but 2 1/2 months in coming.....)
Jewelry Making setup - not quite done!
New crafty itch - refashioning!

So my first post back is a short update on me, and a longer post on refashioning old clothes into new clothes!  I was inspired by this gal's blog:  The Refashionista:  I'll Change the Way You Think About Fashion.  After paging through her blog and seeing the many cute outfits she'd made, I couldn't help but try myself.  I also have a thrift-store-shopping itch that I haven't gotten to scratch, so hopefully more refashions are coming in the future!  My closet is slim pickin's right now for refashions as I haven't dropped all the baby weight yet.....

My first refashion was this skirt:

The 1st Victim:  A long, outdated skirt

There is nothing wrong with this skirt - there are no holes, no stains, to tears.  But I haven't worn it in 12 years!  I still liked the print, and I had only worn it a handful of times, so I had trouble getting rid of it.  But I don't generally wear long skirts.  It's too cold in the winter months and too much fabric in the summer months!  Especially this skirt, because it requires a slip under it because it is VERY see-through.....Plus I wanted a skirt that I could wear now, and this one didn't fit again yet (see above - post baby weight not all gone!).

So I cut it in half!  The bottom half I remade into a simple skirt with an elastic waistband for myself.  I figure this way it will fit me through the weight loss months, and I can remake it smaller with a fitted waistband later if I so choose. 

My new skirt - ready to wear or be remade!
 
I also cut the slip I wore with this skirt in half and sewed it directly to the skirt!  I didn't wear it with anything but this skirt, and now it's a simple affair to grab my skirt and go!  I also don't have to deal with bunchy layers or the skirt sliding around on the slip this way. 

 New skirt with attached slip (or layer #2)

I still had the top half and I hate to waste if I can help it.  I could have refinished the bottom hem as is and kept it as a short skirt with a smaller waist size, but decided to give my 3 year old a new dress instead!  We have never had matching outfits before, but it sounded fun and cute so off I went!

Top of old skirt remade into a dress for my daughter!
 
First I pinned the skirt around my girl, with the old waistband as the new top.  I could make it fit her nicely even though it wasn't stretchy fabric because the old zipper and button closure was the new one for her dress!  I sewed along the pinned lines (garment inside out - right sides together), and cut off the extra fabric.  I chose to finish the seams with a serger.

Next I took my scraps and stitched the open seams closed, so I had 2 tubes of fabric to use as shoulder straps.  My girl tried the dress back on, and I pinned the straps in place and sewed as close to the seam of the old waistband as possible, and again on top of the band.

The old skirt closure is the new dress closure - quick and easy!
 
Then I took the top of the slip and sewed it inside with a zigzag stitch along the bottom edge of the old waistband.  The zigzag stitch was a little more decorative, and allowed the slip to stretch.  I also had to hem the bottom raw edge of both.  I serged them, then folded the skirt material under and stitched it again with a straight stitch for a more finished edge.  The final detail I chose to do was to pick out a flower stitch on my machine, and stitch it along the old waistband, right through the middle.  It disguised the strap stitching and added a little something fun to the dress!

My daughter in her new dress!
 
I could have made the top 1/2 of the dress into a top for myself, I suppose, but I really liked the idea of matching outfits with my daughter.  She loves it!  The length is a little short, but perfect for summer and it can become a top next year to wear with shorts!  She actually has shorts on under it in this photo, too.  Sorry, no photos of me in my skirt - maybe next time.....I think she looks like a little flapper in this photo!

I didn't take any during photos, as I was so excited to just get back to creating something!  Hopefully next time I won't be in such a rush and I can add more step by step photos and detail shots.

I look forward to posting more often and sharing more than just jewelry designs in the future.  With a new home to decorate, there should be all sorts of fun crafting and decorating ideas coming this way!

Happy Creating,
PZ

Wednesday, March 21, 2012

New Family Addition and We're Moving!

Right as I get into the swing of things and was posting regularly again, life gets crazy! Our newest addition has finally joined the family - we are the proud parents of two beautiful girls!


As if that wasn't enough, we are also moving. Regular posts will (hopefully) resume after the move in April.

Thanks for understanding!
PZ

Saturday, February 18, 2012

Dragons - Delightful and Dangerous! Artwork & Decor Featuring Dragons & Serpents

As I get closer to my due date, I find that I am returning to old favorites and new ways to share that love with others.  Currently, I'm working on a dragon plushie for my daughter - I'll post photos and a link to the tutorial when I'm done and if new baby doesn't keep me away too long! 

So, dragons are on my mind this week and I've found some fantastic dragons and serpents on Etsy to share with you all!  I know it's not my usual display, but hopefully it is still inspiring.


Follow the link to the Treasury to see more images or read more about these fine artists and crafters and their work:  Dragons Delightful & Dangerous Etsy Treasury by PZ Designs

Happy Creating,
PZ

Saturday, February 11, 2012

Tutorial: My 1st Beadweaving Stitch - The Triangle Weave

The techniques I employ in jewelry making often cycle - I started with beadweaving and often return to it, but I've also explored loomwork, kumihimo (Japanese braiding), wire wrapping, knotting & macrame, and of course your basic bead stringing.  All of these techniques can make gorgeous jewelry depending on the thought that goes into the design and the proficiency of the execution of the design.  Practice and planning are key to any successful piece.

A triangle weave collar style necklace variation:  
This necklace sports an embellished edge as well as decorative fringe elements.

Sometimes, however, it's nice to return to an old, familiar technique that doesn't require a lot of planning or practicing to create a lovely piece of jewelry.  For me, that's beadweaving.  More specifically, the triangle weave, which was the first beadweaving technique I learned over a decade ago!  I was taught by a Native American instructor and have always thought of this stitch as Native American in design, but it's been employed in various forms around the world.

I learned the basic, single row triangle weave with seed beads.  My first necklace has survived the years and I occasionally still wear it:

 The basic triangle weave (single row):  My 1st necklace with this stitch! (above)
& a close-up of the basic weave (below)

I like this look - it's both form-fitting and comfortable.  The gaps between the edge beads allow the necklace to curve to fit your neck perfectly, like a 2nd skin.  It can be made short, like a collar (12-13 inches) or choker (14-16 inches) and possibly as long as a princess (17-19 inches).

An embellished triangle weave collar style necklace: 
The clear beads are the basic stitch, while the blue beads form the embellished edging

I learned that embellishing the edge (filling in the gaps of the basic triangle weave with another seed bead) results in a stiffer necklace that doesn't curve to sit nicely on the neck - so if you like the embellished look, I suggest adding an adjustable closure (lobster clasp and chain is an easy solution) because an embellished triangle weave necklace needs to be worn high on the neck as a collar or choker to look really good - or it makes for a great bracelet!

 Another embellished edge triangle weave collar (above) & example of adjustable clasp (below)


I've put together a tutorial showing how to complete the basic triangle weave, as shown in my first necklace.  Following my tutorial are several other tutorials showing how to make a 2nd row of triangle weave and another technique for a different look.  I've also included some stunning examples of what can be accomplished with the triangle weave simply by changing up the beads you use in your design!  Many people prefer to use long beads, such as bugle beads, in place of 3 seed beads or incorporate crystals and other glass beads for a completely different look.  Once you get the hang of the stitch, play around with other beads to create your own unique jewelry pieces!

PZ Designs Basic Triangle Weave Tutorial:  Single Row, No Embellishment


Please click on the above image for a larger version!

Additional Tutorials:

Beading Daily:  Learn Triangle Weave - use bugle beads & add a 2nd (or 3rd!) row

 Beading Daily Tutorial

Bead Jewelry Making:  Triangle Weave - use seed beads singly for a different look
           Example of a finished piece using this technique: Black Triangle Weave Bracelet

 Black Triangle Weave Bracelet


 Triangle Weave Band

Around the Beading Table jeweler Deborah Roberti seems to enjoy using the triangle weave in her designs.  She has several more tutorials for purchase that also feature the triangle weave, such as the Geometric Obsession Bracelets.

 Geometric Obsession Bracelets

Around the Beading Table:  Hana-Ami Motif - similar to the Beading Daily tutorial, but create wheels with the triangle weave instead of rows.  

 Hana-Ami Motif

These wheels can be combined in various ways for stunning designs!  

 Crystal Wiggles Bracelet - Hana-Ami Motif Option

Several examples are shown at the end of the tutorial, and here is another:  Pinwheel Bracelet.

Pinwheel Bracelet - Hana-Ami Motif Option

I'd also like to showcase the work of jeweler and artist Laura Shea, who regularly uses the triangle weave:


(also available as a kit)


Stained Glass Triangle Cuff - embellished (double layered) triangle weave

While I love the triangle weave for its ease and nostalgic memories, it looks like I've got some exploring to do with this stitch!  I hope you have enjoyed reading and learning about this weave and that you try it out for yourself.  As you can see, some very extravagant designs can be accomplished from this simple and easy stitch!

Happy Creating,
PZ

Sunday, February 5, 2012

The Versatile Blogger Award

Heather from "A Mom, A Kid, and Art" has passed on The Versatile Blogger Award to 15 blogs - and I'm excited to say that mine was one of them!  Thank you so much, Heather!  Be sure to check out Heather's blog about life, crafts, and her handmade copper jewelry - she designs truly lovely pieces.

 
This is how it works:

1. Thank the person that nominated you, and give a shout out to them on your blog with a link to theirs. 
2. Share 7 random facts about yourself. 
3. Send the blog award to 15 other bloggers whose blogs you love and appreciate, and let them know they won the award.
7 Facts About Me:
  1. My favorite color is purple, but I like wearing teal....
  2. I think reptiles are awesome - I have hatched snake eggs, raised the babies, and still have a couple adults....
  3. I generally don't eat pig products, but I do have 1 BLT a year with real bacon....
  4. I want to travel to Australia and New Zealand but every time I make plans, something prevents me from going....
  5. I never played a video game until I met my husband....and I only like co-op games!
  6. I love crafts and learning new techniques, but I have to limit myself to 1 new craft a year or our home would be taken over with supplies!
  7. I used to think all children had icky, sticky, grabby, grubby little hands - and then I had my own child and found I love child's hands.....
Now for the 15 blogs I awarded this to, in no particular order:

Thank you again, Heather, from "A Mom, A Kid, and Art"!

Happy Creating and Blog Reading!
PZ
Monday, January 30, 2012

Awesome Animals in Knit & Crochet

My sister recently picked up knitting, which is something I've told myself I won't get into because I have so many crafts already!  Anyway, she went from knitting lovely scarves to knitting animals - from patterns she made up herself!  Here is a sample of her newest creation:


Her talent blows me away!  If she decides to start selling any of her work or her patterns, I will post a link.  Right now she is making animals for fun, for gifts, and for her new baby!

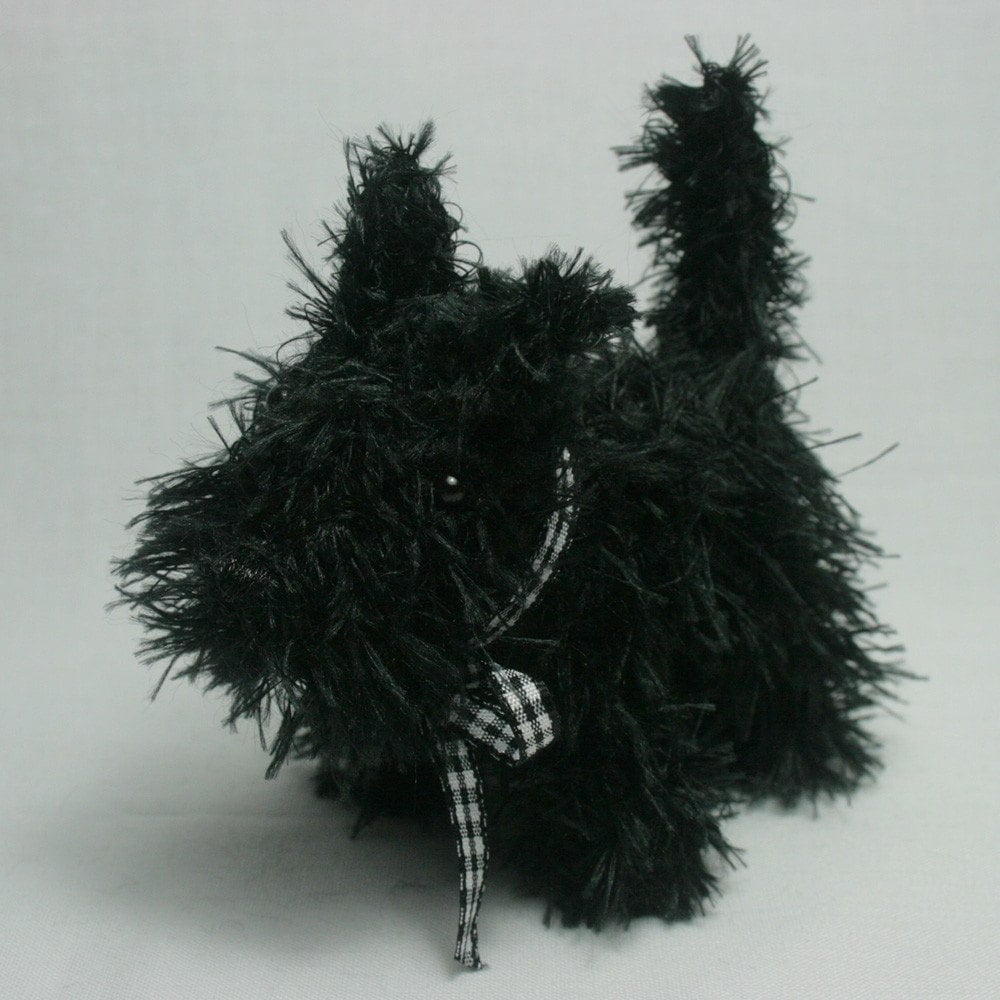
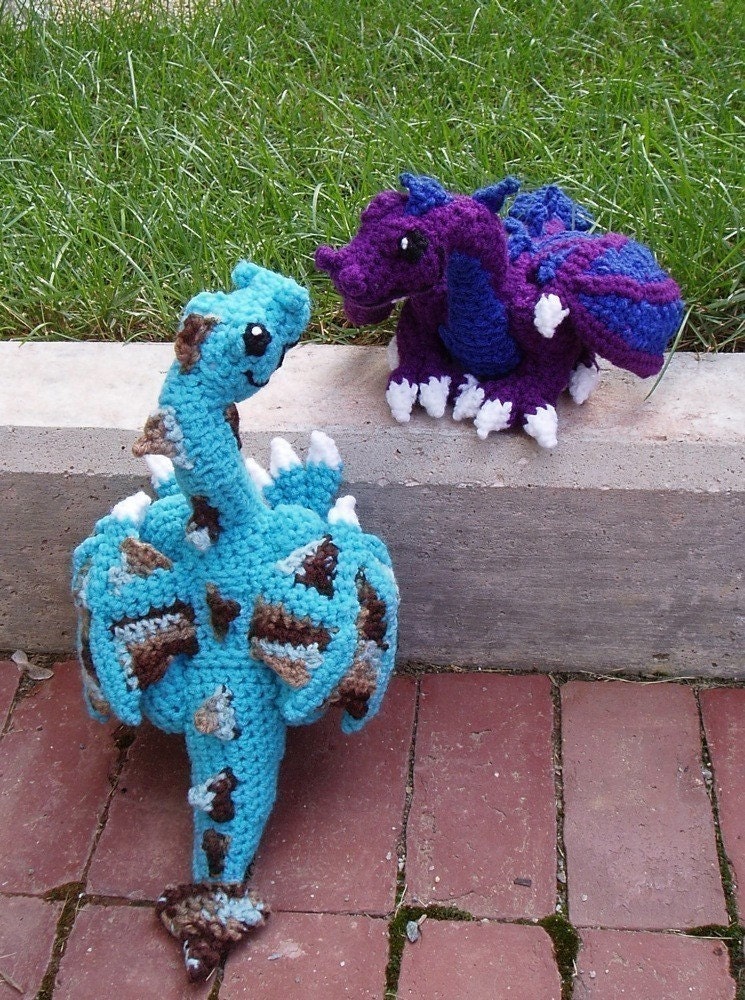
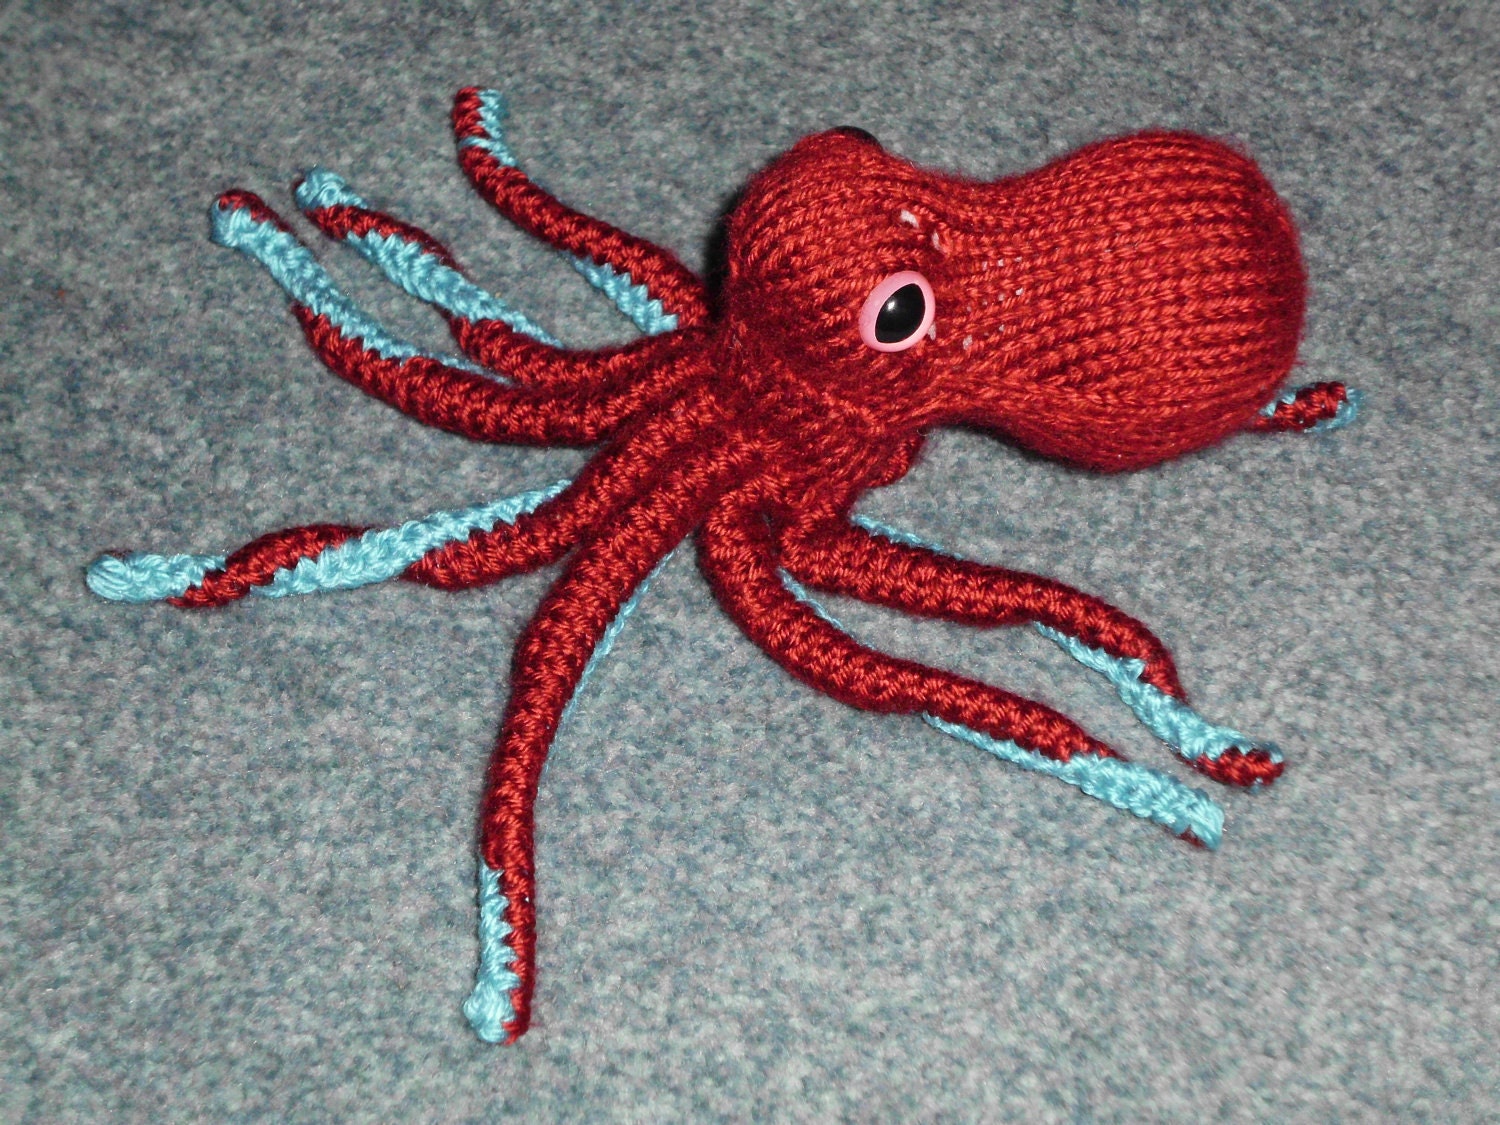
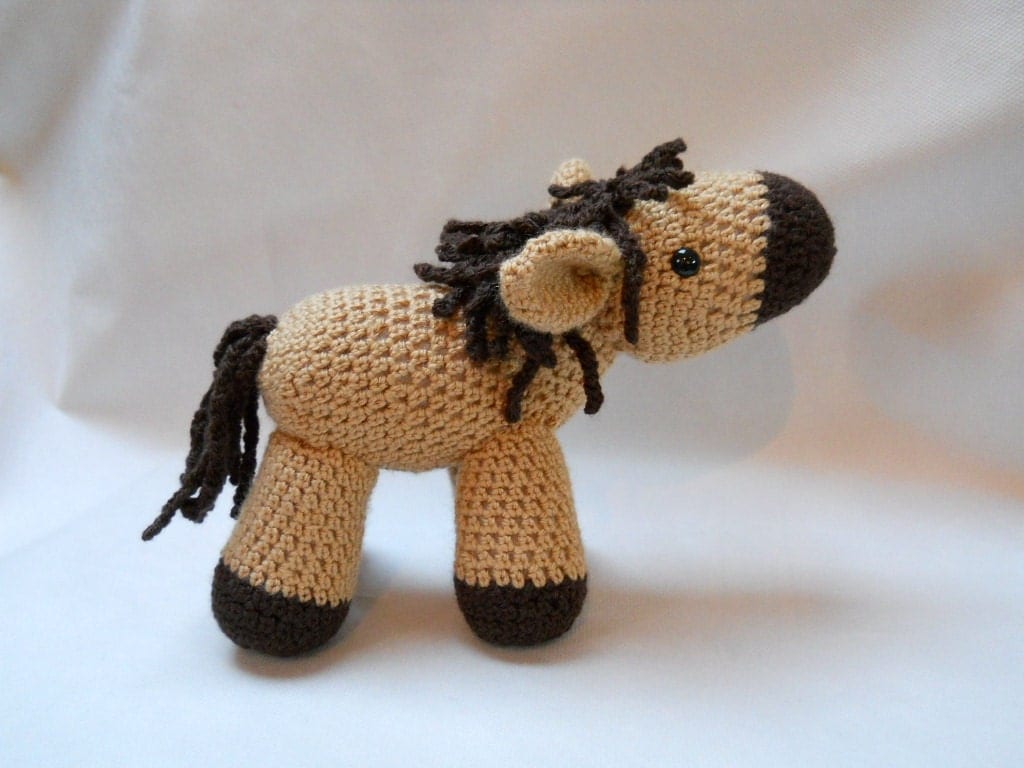
My sister's work is also the inspiration for my feature today:  Awesome Animals in Knit & Crochet!  Each animal has been handmade by the featured crafter, or is a sample from a pattern made by the crafter.  I love the variety, the cuteness, and the realism in these fabulous pieces!


These are just a few of the talented crafters out there, but I hope you've enjoyed looking at their work as much as I enjoyed finding them!

For more information on any of these talented people, or to see more of their creations and patterns, please follow the link in the image title.  The link will go directly to the crafter's Etsy shop!

Thanks for stopping by and Happy Creating!
PZ

Monday, January 23, 2012

SouthEast Idaho Artisans & Crafters on Etsy

As I search for local craft fairs to attend or participate in, and then go to them and spend money on wonderful handmade items, I realize there are many, many talented artists and crafters in my region.  Today I've decided to show off some of these items that seemed particularly unique, well-made, and/or creative and I hope you enjoy looking (and maybe shopping....) as much as I did!  As you can see, I particularly enjoyed finding unique children's items.....

The children's clothes found in this shop are very sweet - they vary from bright and fun (as shown above) to classic and romantic!

I've been admiring Jas Glass Art for a while now - the pendants are new since my last perusal, but I still love the unique window art as well.

There are more than just wonderfully fun and detailed hair clips at this store, but the flower headbands grab my attention first every time!

Gemstones, lampwork beads, typewriter keys, and other fun and/or classy jewelry can be found here!  It's a marvelous mix of whimsical and elegance all in one design.

I love the precious knit hat and blanket designs made by Red and Company - they also have some beautiful quilts!
Find fun, colorful, original art ready to hang, as well as hats, bags, and mittens!
ADORABLE baby boots and booties can be found in this store, as well as hats and skirts in fun prints and warm knits!


I thought this was a fantastic idea - a little roll up pouch for crayons!  It even comes with some colors already inside.  Find other baby items, such as fun printed bibs or burp cloth sets, or check out the children's Craft Bucket!

Each artist and crafter shown today is a part of the SouthEast Idaho Etsy Team and they have shops open and full of finished goods ready to go if you find yourself interested - just follow the link in the titles.  You can also find out more about each product or shop owner just by clicking on the shop name or profile on Etsy!

If you are like me, and buy some items and enjoy making others, be sure to check out some of the SouthEast Idaho Etsy Team members who sell patterns as well as products!

Happy Creating,
PZ